2.1 导入sdk
# 2.1 导入sdk
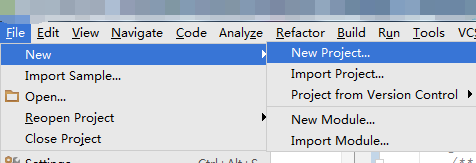
* 在AS中new Project, 如果您已有项目请跳过此步。New Project的后续步骤略。
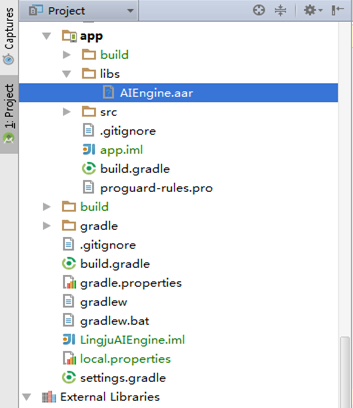
* Project新建完成后,将开发工具包中libs下的文件复制到你当前Project的libs下,如图:
* 下一步修改build.gradle文件,修改以下三处配置:
~~~
repositories {
flatDir {
dirs 'libs'
}
}
dependencies {
compile fileTree(dir: 'libs', include: ['*.jar'])
compile(name: 'AIEngine', ext: 'aar')
compile 'de.greenrobot:eventbus:2.4.0'
compile 'com.android.support:appcompat-v7:22.2.0'
compile 'com.android.support:recyclerview-v7:22.2.0'
//基础版SDK需要导入
compile 'com.google.code.gson:gson:2.8.0'
}
~~~
* Rebuild使以上修改生效,至此,导入工作已完成。